
Sunday, April 17, was our last day of Grosvenor Teacher Fellow training at National Geographic Headquarters with the amazing and wonderful people from National Geographic and Lindblad Expeditions. Karen Copeland, world traveler, photographer, and Lindblad naturalist, gave a presentation on photography. Having spoken with Karen Friday night at dinner she knew I was interested in learning more about becoming a better photographer and that I was clueless about the technical aspects. It seems that ever since I began shooting in manual my photographs have been horrible. Prior to March I only utilized automatic or pre-settings such as landscape and portrait. Karen was adamant. There are easier ways to shoot than manual, but DO NOT rely on automatic.
Saturday afternoon, after everyone else had left, she gave me a precious half hour of one-on-one instruction. We sat outside National Geographic Headquarters in a beautiful courtyard and discussed all things camera. I am so grateful for this session. I asked her to explain it to me like I was a kindergartner. She explained all the “technical stuff” over and over: shutter speed, depth of field, light sensitivity. She also showed me how to use the TV, AV, and P settings on my camera. I think I mostly understand. When choosing which setting to use it comes down to this question, “What is your priority?” TV lets you prioritize shutter speed, AV depth of field (aperture), and P light sensitivity. Let me break it down for you in non-professional language.
Essentially, TV lets you prioritize how long the shutter is open when you take a photograph. That decision depends on the subject. Fast shutter speed is used for stopping motion and slow shutter speed is used for either showing movement or capturing objects in low light conditions. For example, to photograph moving water you can create two very different effects. With a slow shutter speed, meaning the shutter is open longer, you get the effect of ethereal water. It is white and continuous. Use of a tripod is advised as any movement of the camera will result in a blurry image. If the shutter speed is high, the shutter is open for a very small amount of time; you can stop motion in its tracks. For instance, stop a drop of water midair between the faucet and the glass. I’ve been trying to stop moments during my son’s soccer games. If I’m going for the blurry soccer ball effect I’ve been doing well. While in the Arctic, there will be chances to photograph animals, that not surprisingly, do not sit still for portraits. Capturing a diving whale or a galloping polar bear cub will require a fast shutter speed. Therefore, more practice with TV is needed. 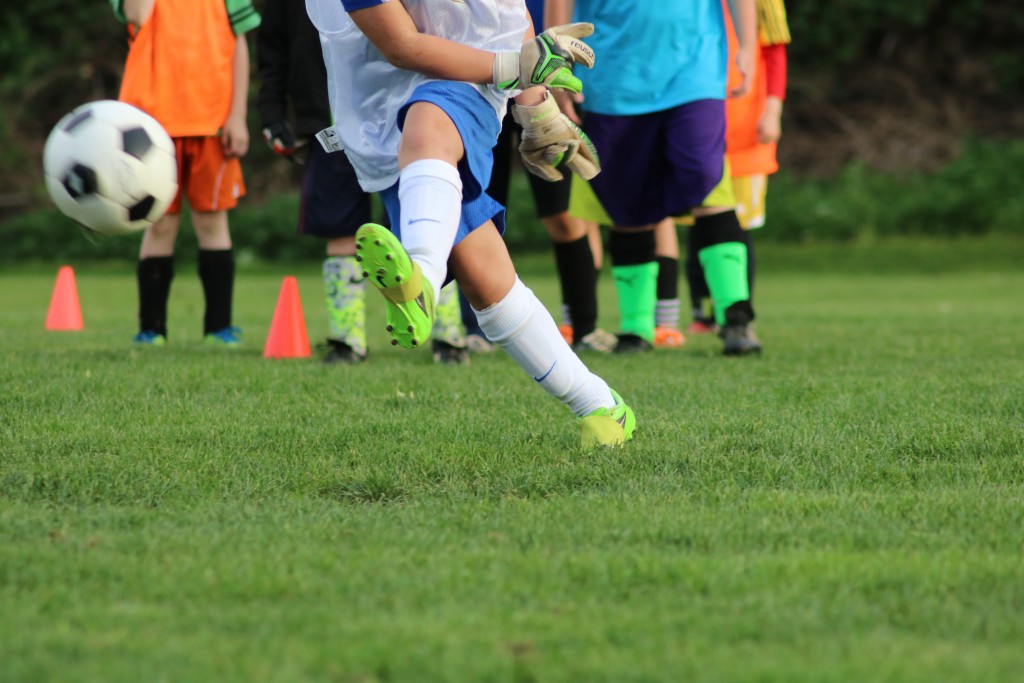
With 1/640 shutter priority, the ball is blurry, but look at those legs and feet! Totally in focus! Much better than before; I’ll get there. After taking this I learned that you really want to have it at least 1/1000. Thank you Luis, soccer dad and wealth of photographic knowledge!

AV lets you prioritize depth of field, or how much is in focus front to back. Aperture, or f-stop, determines how large your shutter opens. Think of it like an eye. Your iris opens and closes to allow more or less light to travel through your pupil. The size of the hole also determines how much is in focus in the background and foreground. This one was the hardest for me to understand. The more open the shutter (eye) the less objects or areas in focus. The f-stop numbers are opposite for my brain too. f1.8 is a larger opening than f16. So f1.8 will have a shallow depth of field, less objects will be in focus. The more closed the shutter, like f16, the more objects and more areas of the image will be in focus. So, if I want to take a portrait where the background is out of focus I get closer to the subject and set the depth of field as open as possible. If I want everything in the photo to be in focus I would close the eye as much as possible. I know, weird. I love photographs of people or nature where the background is out of focus but the main subject is crystal clear. In the Arctic I hope to capture nature creatively, and knowing how to adjust the depth of field will help me do so. I am still learning; therefore, I will need to practice as much as possible before June 11! While visiting the Vietnam Memorial I was able to capture an image using AV. Notice that not all of the letters are in focus. I used the shallowest depth of field my lens is capable of; f3.5. If I could do this again, I would try to make the first letters be in focus rather than the middle. I do like the reflection though.
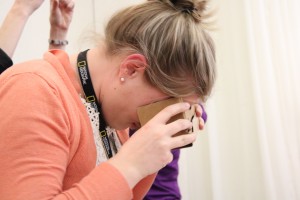
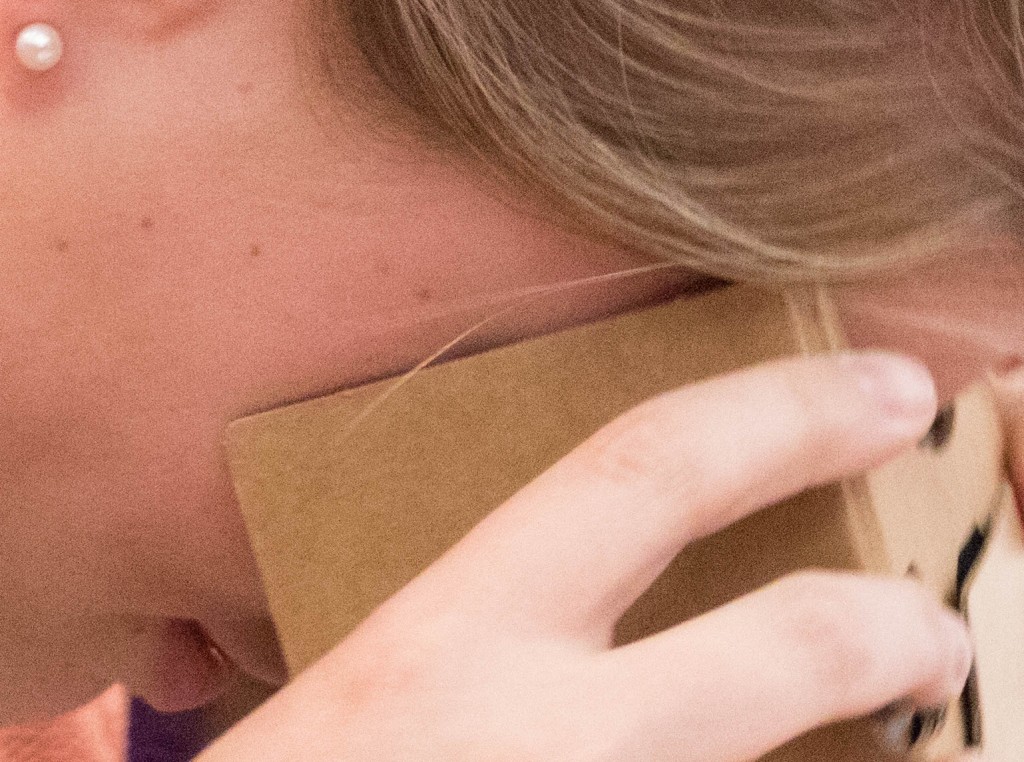
P prioritizes your ISO, or light sensitivity: the higher the ISO, the greater the light sensitivity. For those of you who remember film cameras, you purchased film based on light sensitivity; 100 was used for outside sunny days, 400 or 800 was for indoors or darker days. The darker the setting, the higher your ISO needs to be, especially if you’re trying to avoid using a flash. If you are outside on a sunny day, you are safe with 100 or 200. If you are inside with low light, you may need to go as high as 12,800. The higher you go, the grainier the image becomes. The lower the ISO, the crisper the image will be. Taking pictures in our gym without a flash required a huge ISO and the photos were all grainy. There is only so much photo editing you can do. Go as low as you can with ISO. This photo was taken inside National Geographic Headquarters without a flash, so I went with a high ISO (6400); but if you zoom in, you can see the image is very grainy.
So there you have it. Technical camera information as I understand it, thanks to my wonderful mentor Karen Copeland. Thank you again, Karen, for taking the time to make the technical aspects of photography more digestible. I feel truly blessed to have been taken under your wing. Now… off to take some spectacular photos…or so I hope.
Disclaimer: I use a EOS Rebel T6i. I do not know if the TV, AV, and P settings are the same for all cameras.
Corrections: In TV and AV you can also change the ISO.
